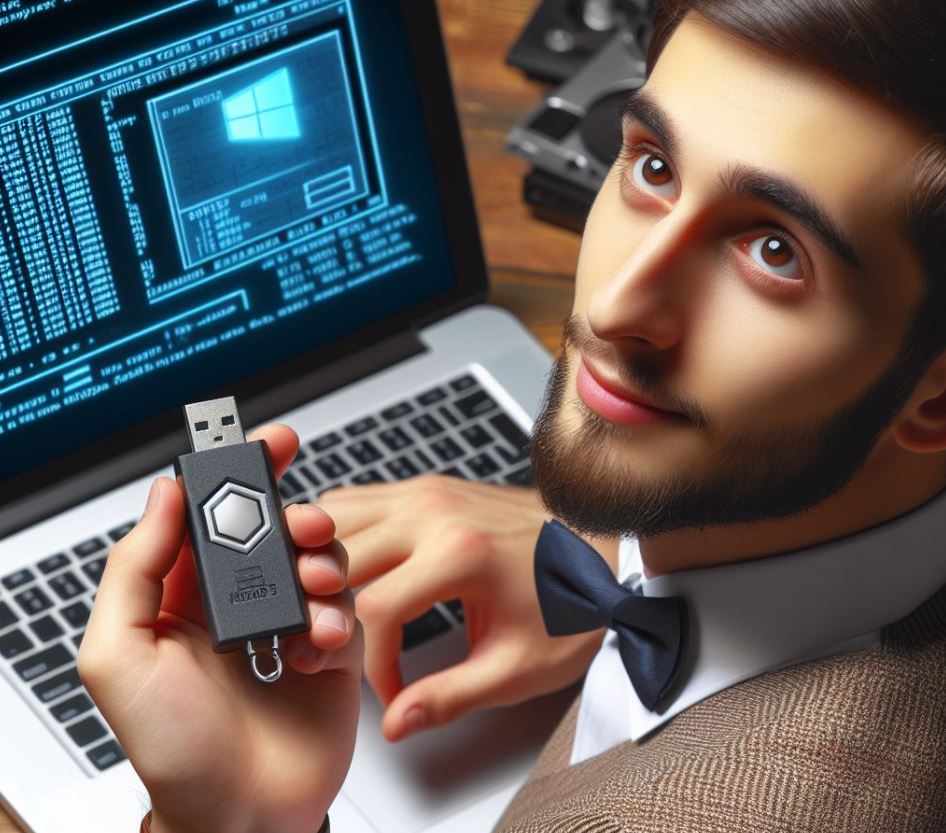
Have you ever wanted to create a bootable USB drive that you can use to install Windows on any computer?
Maybe you need to repair a corrupted system want to try a different version of Windows or simply want to have a backup option in case something goes wrong.
Whatever your reason may be creating a bootable USB drive is not as difficult as you might think. In fact you can do this with a simple tool included with Windows: the Command Prompt.
In this post I will show you step by step how to create a bootable USB drive using CMD in Windows. You will learn:
- How to prepare your USB drive for the process.
- How to format your USB drive using CMD.
- How to copy the Windows installation files to your USB drive using CMD.
- How to test your bootable USB drive and use it to install Windows.
How to prepare your USB drive for the process
Before you can create a bootable USB drive you must do two things:
- A USB drive with at least 8GB of storage space.
- A Windows installation CD or ISO file.
If you don't have a Windows installation disc you can download an ISO file from the Microsoft website. Just make sure you select the correct version and edition of Windows that matches your product key.
Once you have these two things you need to connect your USB drive to your computer and back up all your important data to it. That's because we're going to format the USB drive which will delete everything on it.
To back up your data you can simply copy and paste it to another location such as your hard drive or another USB drive. Alternatively you can do this using backup software.
After backing up your data you can format your USB drive using CMD.
How to format your USB drive using CMD
To format your USB drive using CMD you need to open Command Prompt as administrator. To do this follow these steps:
- Click the “Start” button and type “cmd” in the search box.
- Right-click the Command Prompt icon and select “Run as administrator”.
- Click Yes when prompted by User Account Control.
You should see a black window with a blinking cursor. This is the command prompt.
Now you need to find out the drive letter of your USB drive. To do this type “diskpart” and press Enter. This will launch a disk management tool.
Next type “list disk” and press Enter. You will then see a list of all the disks connected to your computer including your hard drive and USB drive.
You should see something like this:
DISKPART> List disks

Disk ###   Status        Size       Free     Dyn   Gpt
--------   ------------- -------   -------   ---   ---
Disk 0     Online        931 GB        0 B
Disk 1     Online        14 GB         0 B
In this example Disk 0 is the hard drive and Disk 1 is the USB drive. You can tell this by the size of the slices. Your USB drive may have a different disk number. Therefore make sure you identify it correctly.
- Once you know your USB drive's disk number type "select disk X" and press Enter where X is your USB drive's disk number.
For example if your USB drive is Disk 1 type "select disk 1" and press Enter. - You should see the message “Disk X is now the selected disk.” This means you have successfully selected your USB drive.
- Now type “clean” and press Enter. This will delete all partitions and data on your USB drive making it ready for formatting.
- Next type “create partition primary” and press Enter. This will create a new primary partition on your USB drive.
- Then type “select partition 1” and press Enter. This will select the partition you just created.
- Next type “active” and press Enter. This will mark the partition as active meaning it can be used to boot your computer.
- Finally type “format fs=ntfs quick” and press Enter. This will format the partition with the NTFS file system which is compatible with Windows. The “quick” parameter means that a quick format is performed which is faster than a full format.
- You should see a “100 percent complete” message. This means you have successfully formatted your USB drive using CMD.
- Now type “exit” and press Enter to close the Disk Management tool. Then type “exit” and press Enter again to close the Command Prompt.
You have just completed the first part of creating a bootable USB drive using CMD. Now you need to copy the Windows installation files to your USB drive using CMD.
How to Copy the Windows Installation Files to Your USB Drive using CMD
To copy the Windows installation files to your USB drive using CMD, you need to have your Windows installation disc or ISO file ready.
If you have a Windows installation disc, you need to insert it into your computer’s optical drive. Then, you need to find out the drive letter of your optical drive. To do this, follow these steps:
- Click the Start button and type “computer” in the search box.
- Click on the Computer icon to open the File Explorer.
- Look for the optical drive icon and note the drive letter next to it.
In this example, the optical drive is D:. Your optical drive might have a different drive letter, so make sure you note it correctly.
If you have a Windows installation ISO file, you need to mount it as a virtual drive. To do this, follow these steps:
- Right-click on the ISO file and select “Mount”.
- Look for the virtual drive icon and note the drive letter next to it.
In this example, the virtual drive is E:. Your virtual drive might have a different drive letter, so make sure you note it correctly.
Once you know the drive letter of your Windows installation disc or ISO file, you need to open the Command Prompt as an administrator again.
To do this, follow the same steps as before:
- Click the Start button and type “cmd” in the search box.
- Right-click on the Command Prompt icon and select “Run as administrator”.
- Click “Yes” if prompted by User Account Control.
You should see the Command Prompt window again.
Now, you need to copy the Windows installation files from your optical drive or virtual drive to your USB drive.
To do this, type "xcopy X:*.* /s /e /f Y:" and press Enter, where X is the drive letter of your optical drive or virtual drive, and Y is the drive letter of your USB drive.
For example, if your optical drive is D: and your USB drive is F:
"xcopy D:*.* /s /e /f F:" and press Enter.
You should see something like this:
C:\Windows\system32>xcopy D:\*.* /s /e /f F:\
D:\autorun.inf
F:\autorun.inf
D:\boot\bcd
F:\boot\bcd
D:\boot\boot.sdi
F:\boot\boot.sdi
...
This means the files are being copied from your optical drive or virtual drive to your USB drive. This might take a while, depending on the size and speed of your drives.
You should see a message saying “X File(s) copied”.
This means you’ve successfully copied the Windows installation files to your USB drive using CMD.
Now, type “exit” and press Enter to close the Command Prompt.
You’ve just completed the second part of making a bootable USB drive using CMD. Now, you need to test your bootable USB drive and use it to install Windows.
How to Test Your Bootable USB Drive and Use it to Install Windows
To test your bootable USB drive and use it to install Windows, you need to restart your computer and boot from your USB drive. To do this, follow these steps:
- Plug your USB drive into your computer.
- Restart your computer and press the appropriate key to enter the BIOS or boot menu. This key varies depending on your computer model and manufacturer, but it’s usually one of the F keys, such as F2, F10, F12, or Del. You should see a message on the screen telling you which key to press.
- Once you enter the BIOS or boot menu, look for the boot order or boot priority option and select your USB drive as the first boot device. You might need to use the arrow keys and the Enter key to navigate the menu and make the selection.
- Save the changes and exit the BIOS or boot menu. Your computer should restart and boot from your USB drive.
You should see the Windows logo and a message saying “Windows is loading files”. This means your bootable USB drive is working and you can proceed with the Windows installation.
To install Windows using your bootable USB drive, follow the on-screen instructions and enter your product key when prompted. You can also customize the installation options, such as the language, the partition, and the updates.
Once the installation is complete, you can enjoy your new Windows system and remove your USB drive.
Tips on SEO and Online Business
Previous Articles
